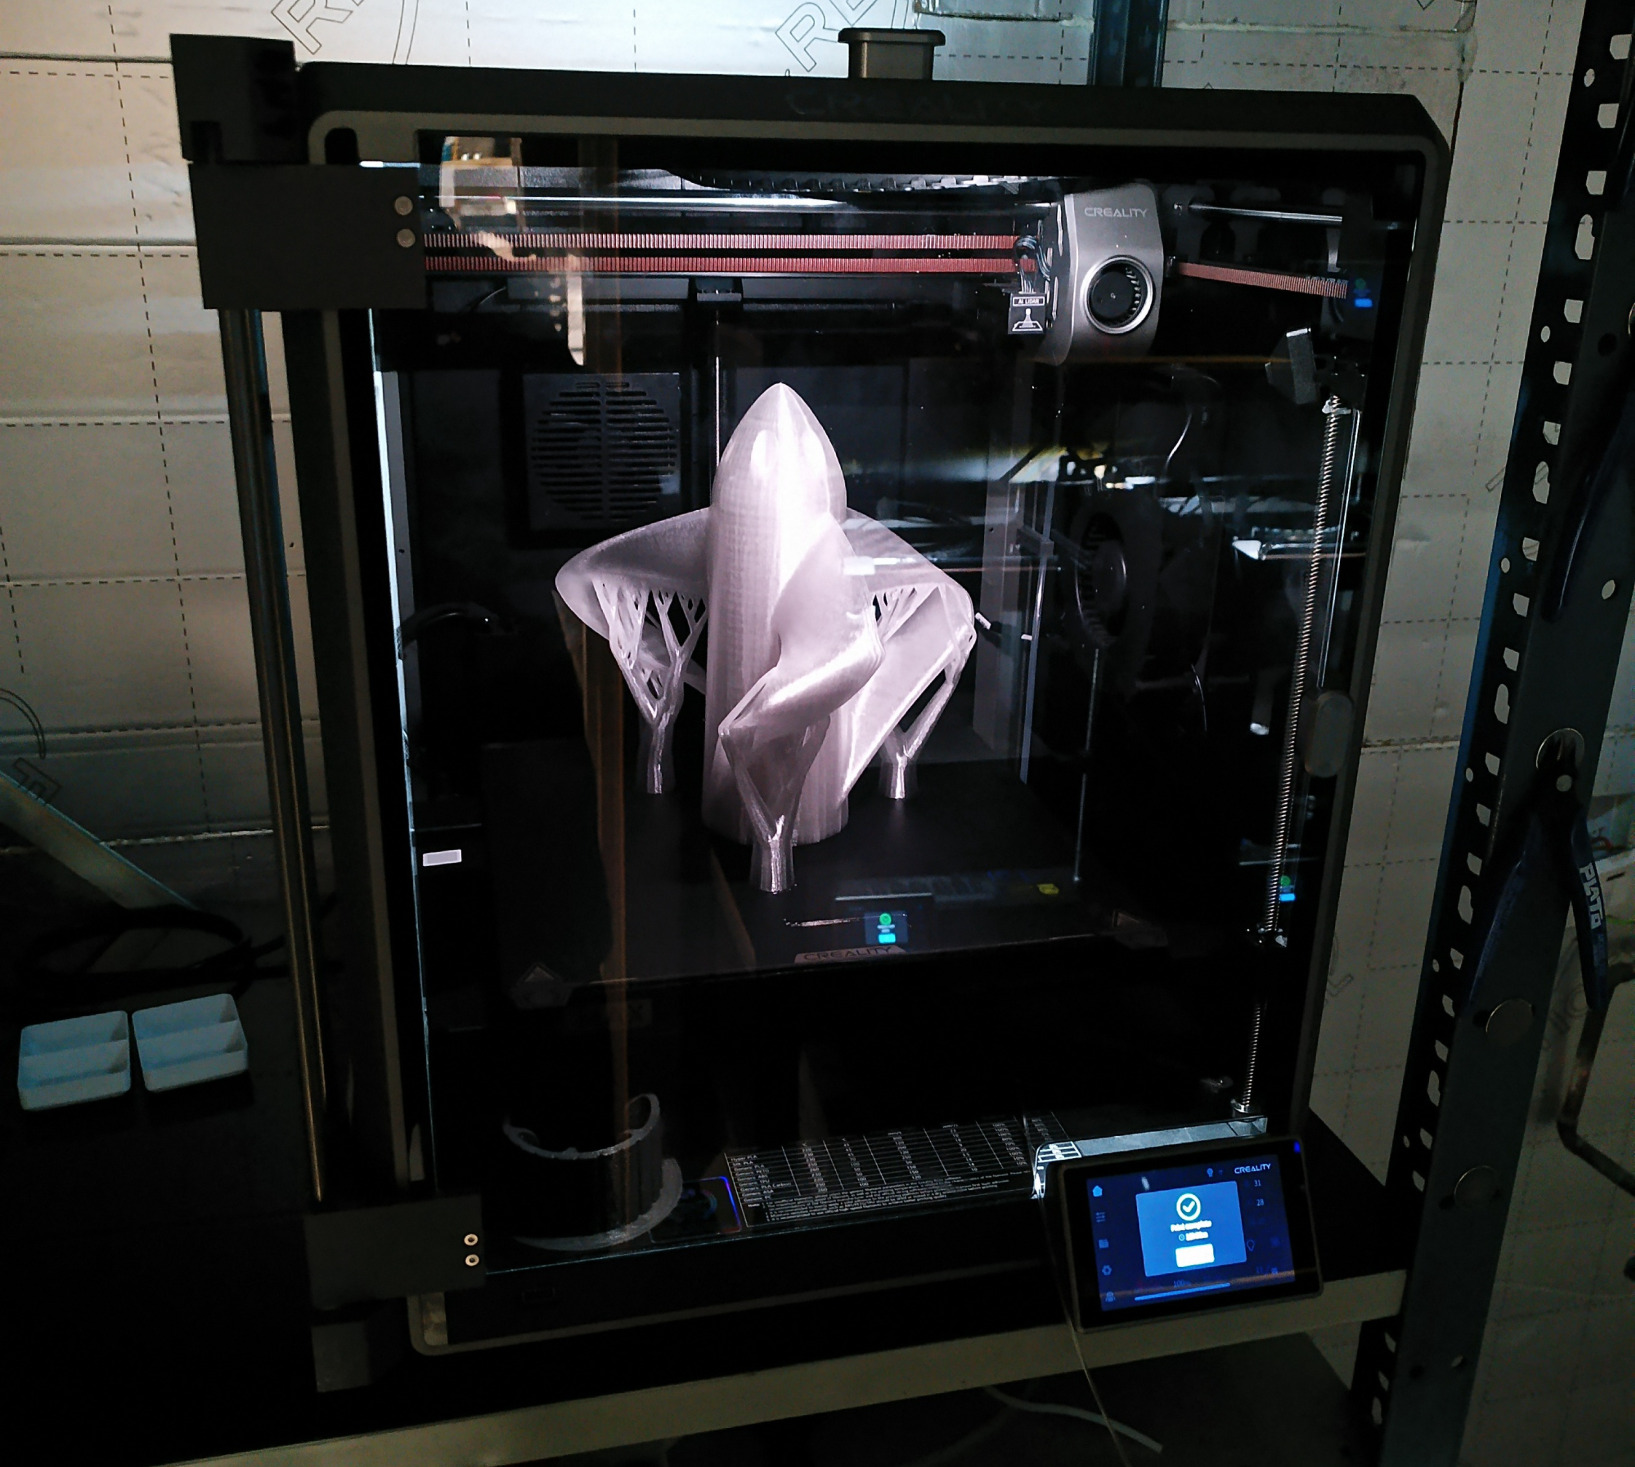
FDM Printing
Fused Deposition Modeling (FDM) is a popular 3D printing technology that builds objects layer by layer using thermoplastic materials. Here’s a breakdown of how it works and its key features:
- Process: FDM printers use a heated nozzle to melt a filament, which is typically made of plastic, such as PLA, ABS, or PETG. The molten material is extruded through the nozzle and deposited onto a build platform in a precise pattern according to a 3D model.
- Layering: The printer adds material in layers, gradually building up the object from the bottom to the top. Each layer bonds to the one below it as it cools and solidifies.
- Support Structures: Complex geometries may require additional support structures during printing, which can be printed simultaneously and removed afterward.
- Applications: FDM is widely used for prototyping, manufacturing, and even for creating end-use parts. It's popular in industries such as aerospace, automotive, and education.
- Advantages: FDM is relatively cost-effective, easy to use, and has a wide range of material options. It's also suitable for both beginners and experienced users.
- Limitations: The layer-by-layer process can lead to visible layer lines and may limit the resolution and detail compared to other 3D printing methods like Stereolithography (SLA).
Overall, FDM printing is a versatile and accessible method for producing 3D objects, making it a favorite among hobbyists and professionals alike.
Print area up to 300*300*320mm
on Creality K1 Max
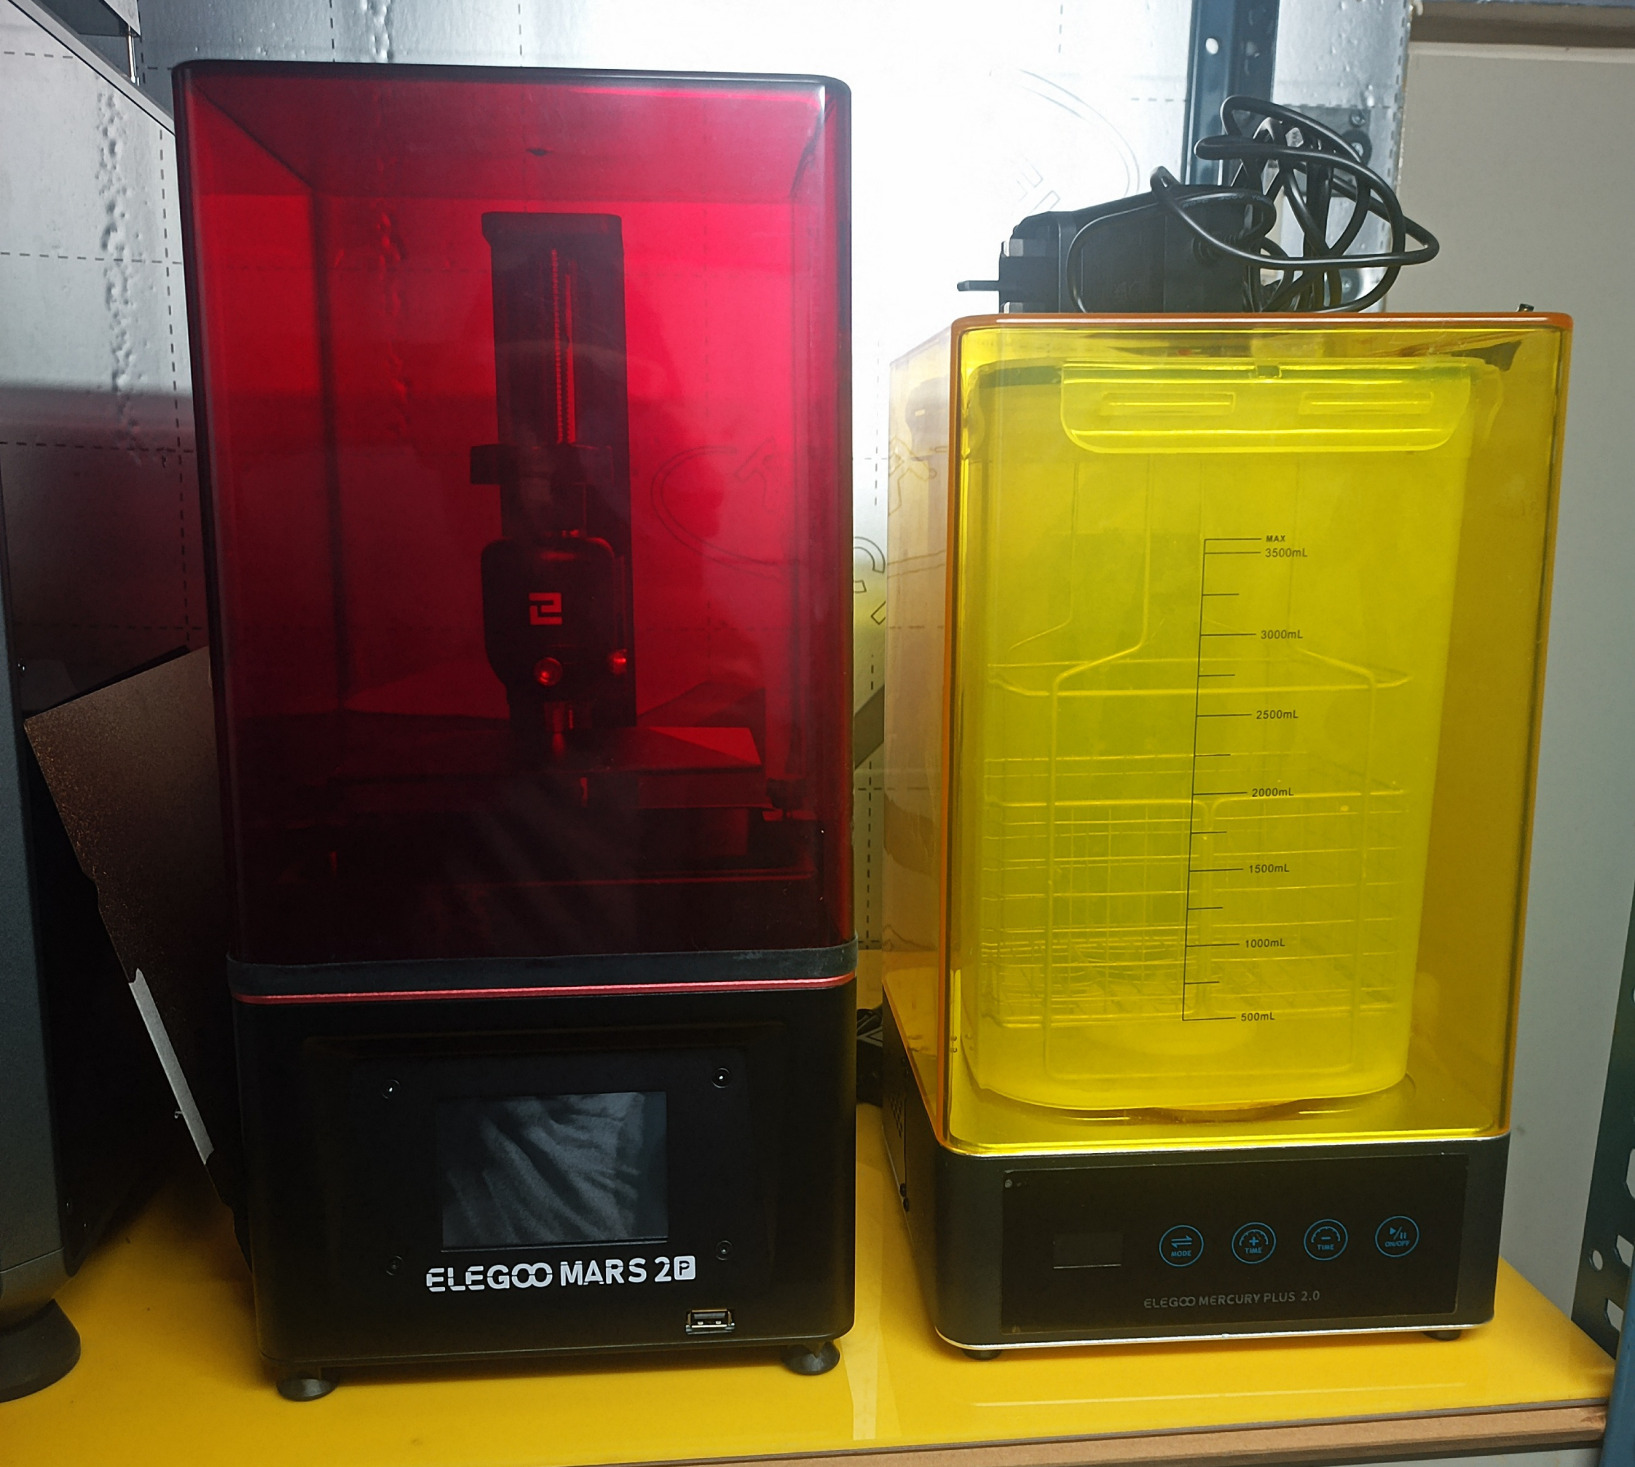
MSLA Printing
Masked Stereolithography (MSLA) is a 3D printing technology similar to traditional Stereolithography (SLA), but it uses a digital light projector (DLP) to cure resin instead of a laser. Here’s a detailed overview:
- Process: MSLA prints are created by projecting a full layer of UV light onto a vat of photosensitive resin, curing an entire layer at once rather than point by point.
- Speed: This method is generally faster than traditional SLA since it cures an entire layer simultaneously, making it suitable for high-volume production.
- Resolution: MSLA printers can achieve high resolution and fine details, similar to SLA. The resolution depends on the pixel size of the projector used.
- Materials: Like SLA, MSLA uses a variety of resins, including standard, flexible, tough, and specialty formulations for specific applications.
- Applications:Commonly used for creating prototypes, jewelry, dental models, and intricate designs in industries like healthcare and manufacturing.
- Advantages: The ability to cure an entire layer at once makes MSLA faster than point-based methods.
- Cost-Effective: MSLA printers tend to be more affordable than high-end SLA printers while still offering excellent print quality.
- Limitations: The size of the print is often limited by the projector's resolution and the build platform.
- Surface Finish: While MSLA can produce smooth surfaces, some prints may still require post-processing to achieve the desired finish.
Overall, MSLA is an efficient and precise 3D printing technology that bridges the gap between SLA's detail and speed, making it increasingly popular for various applications.
Print area up to 218*122*260mm
on Elegoo Saturn 3 Ultra 12k
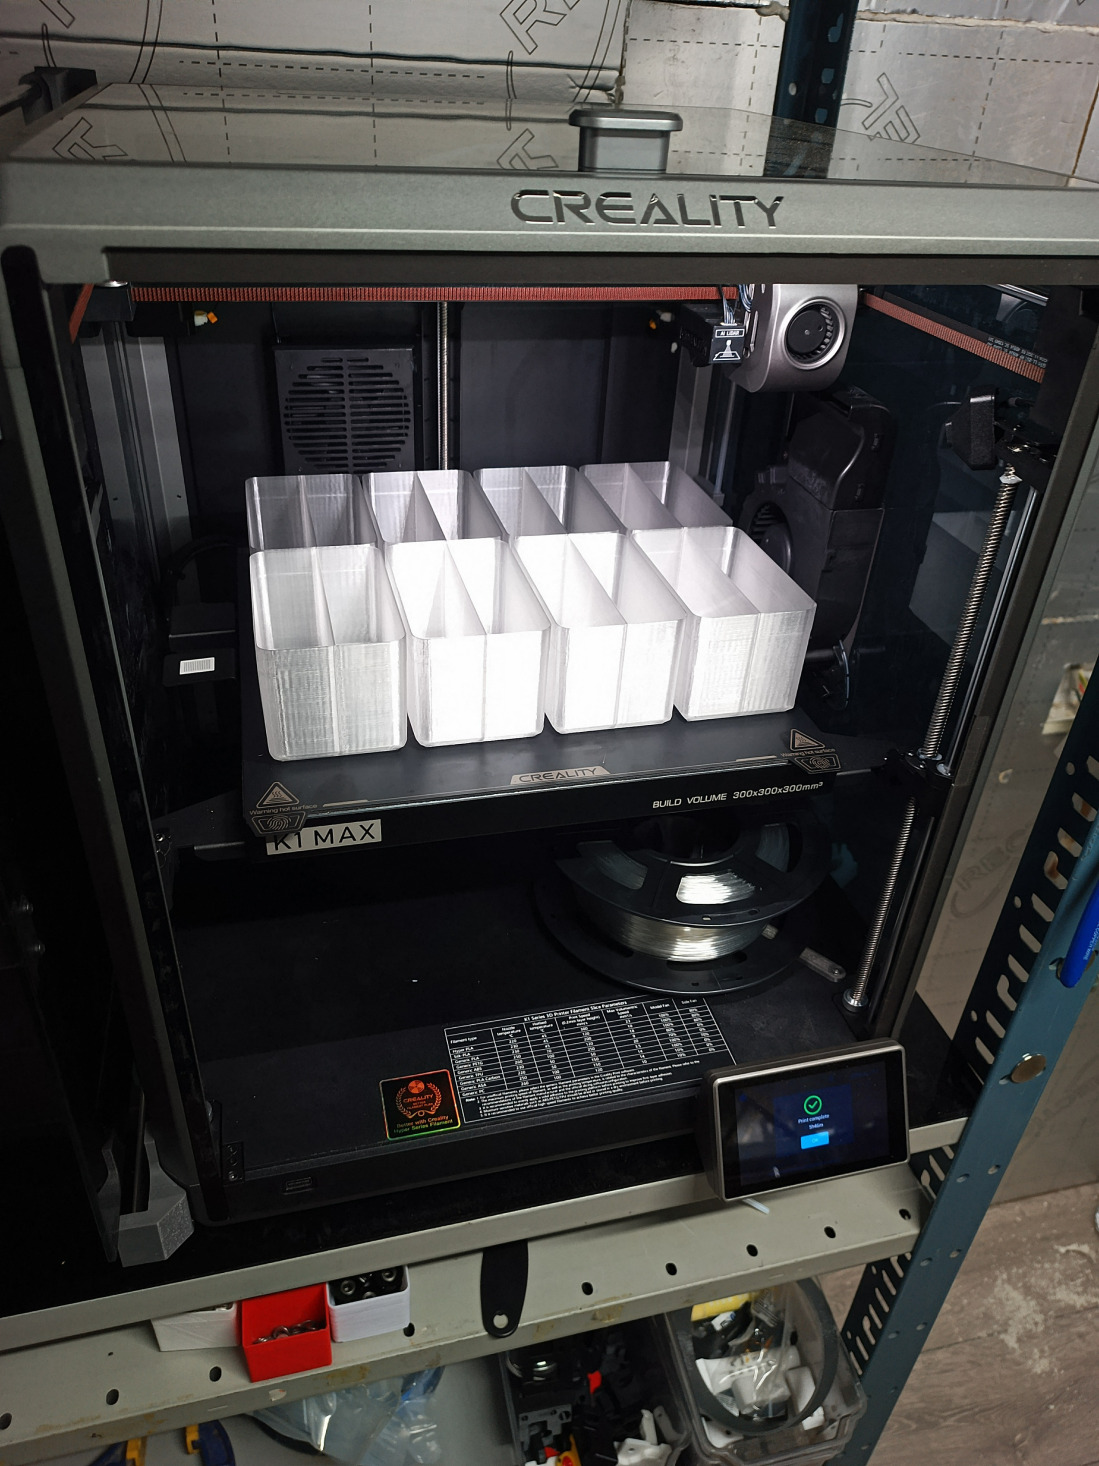
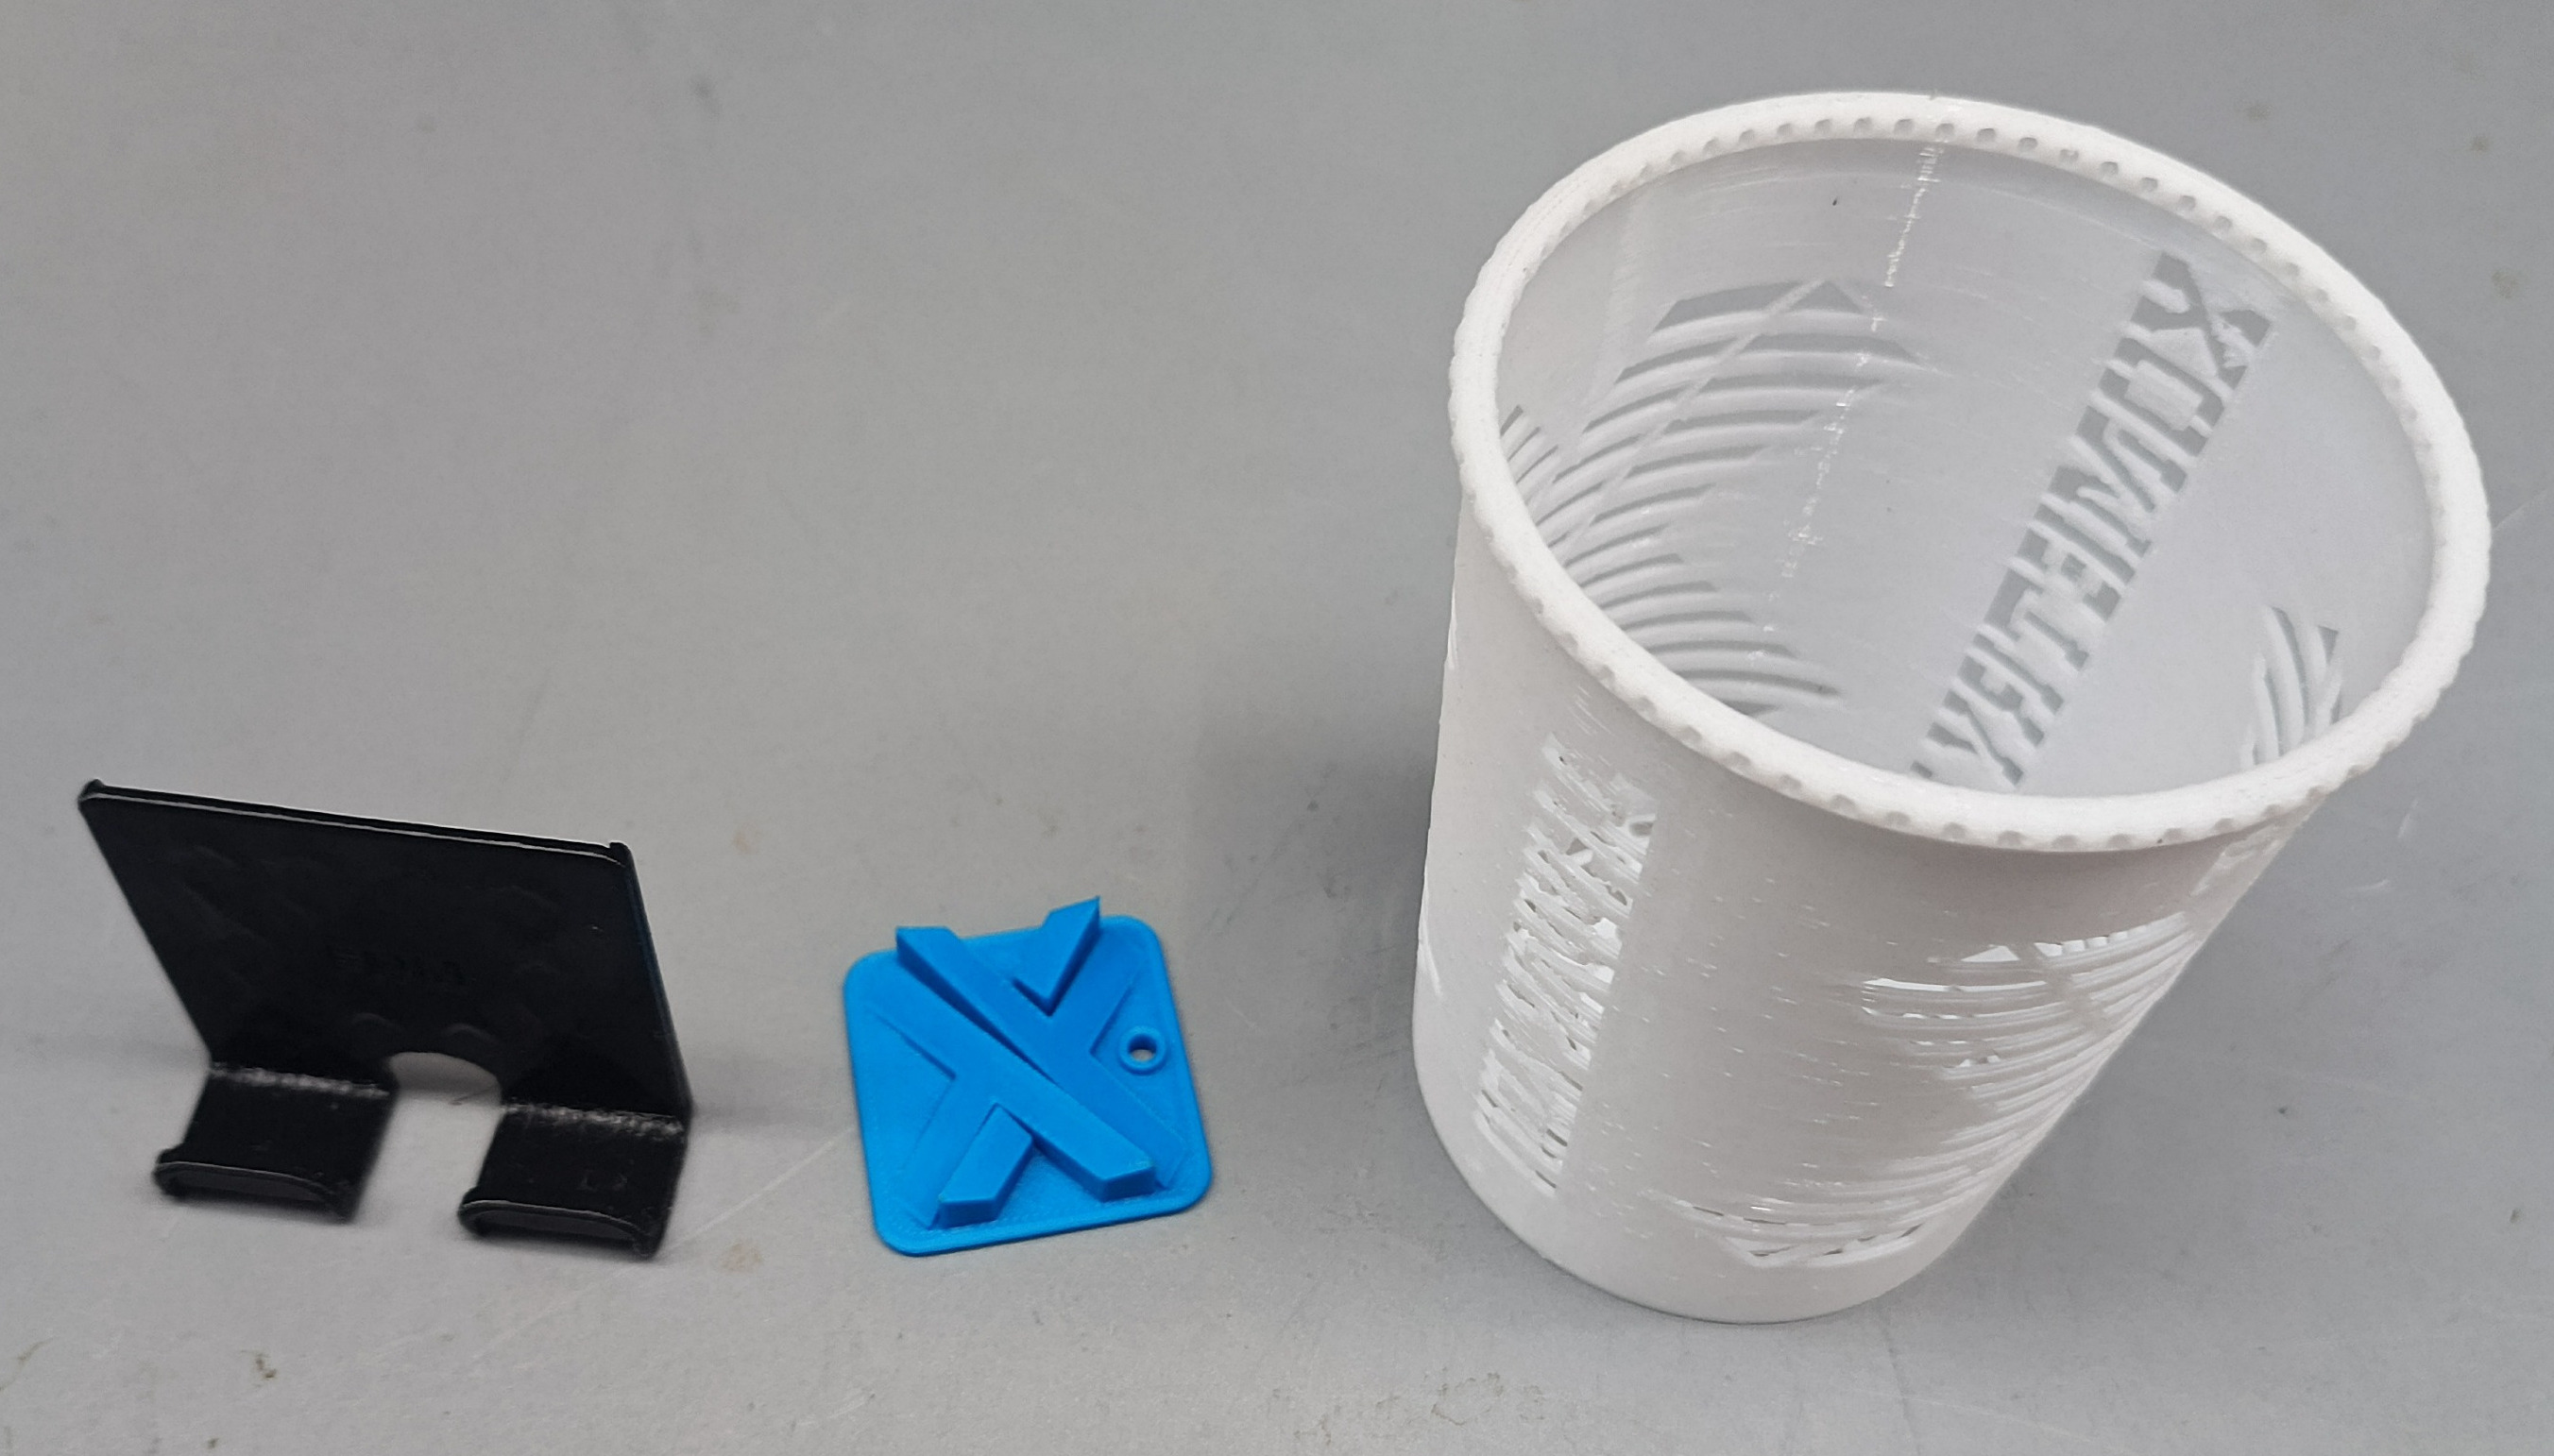
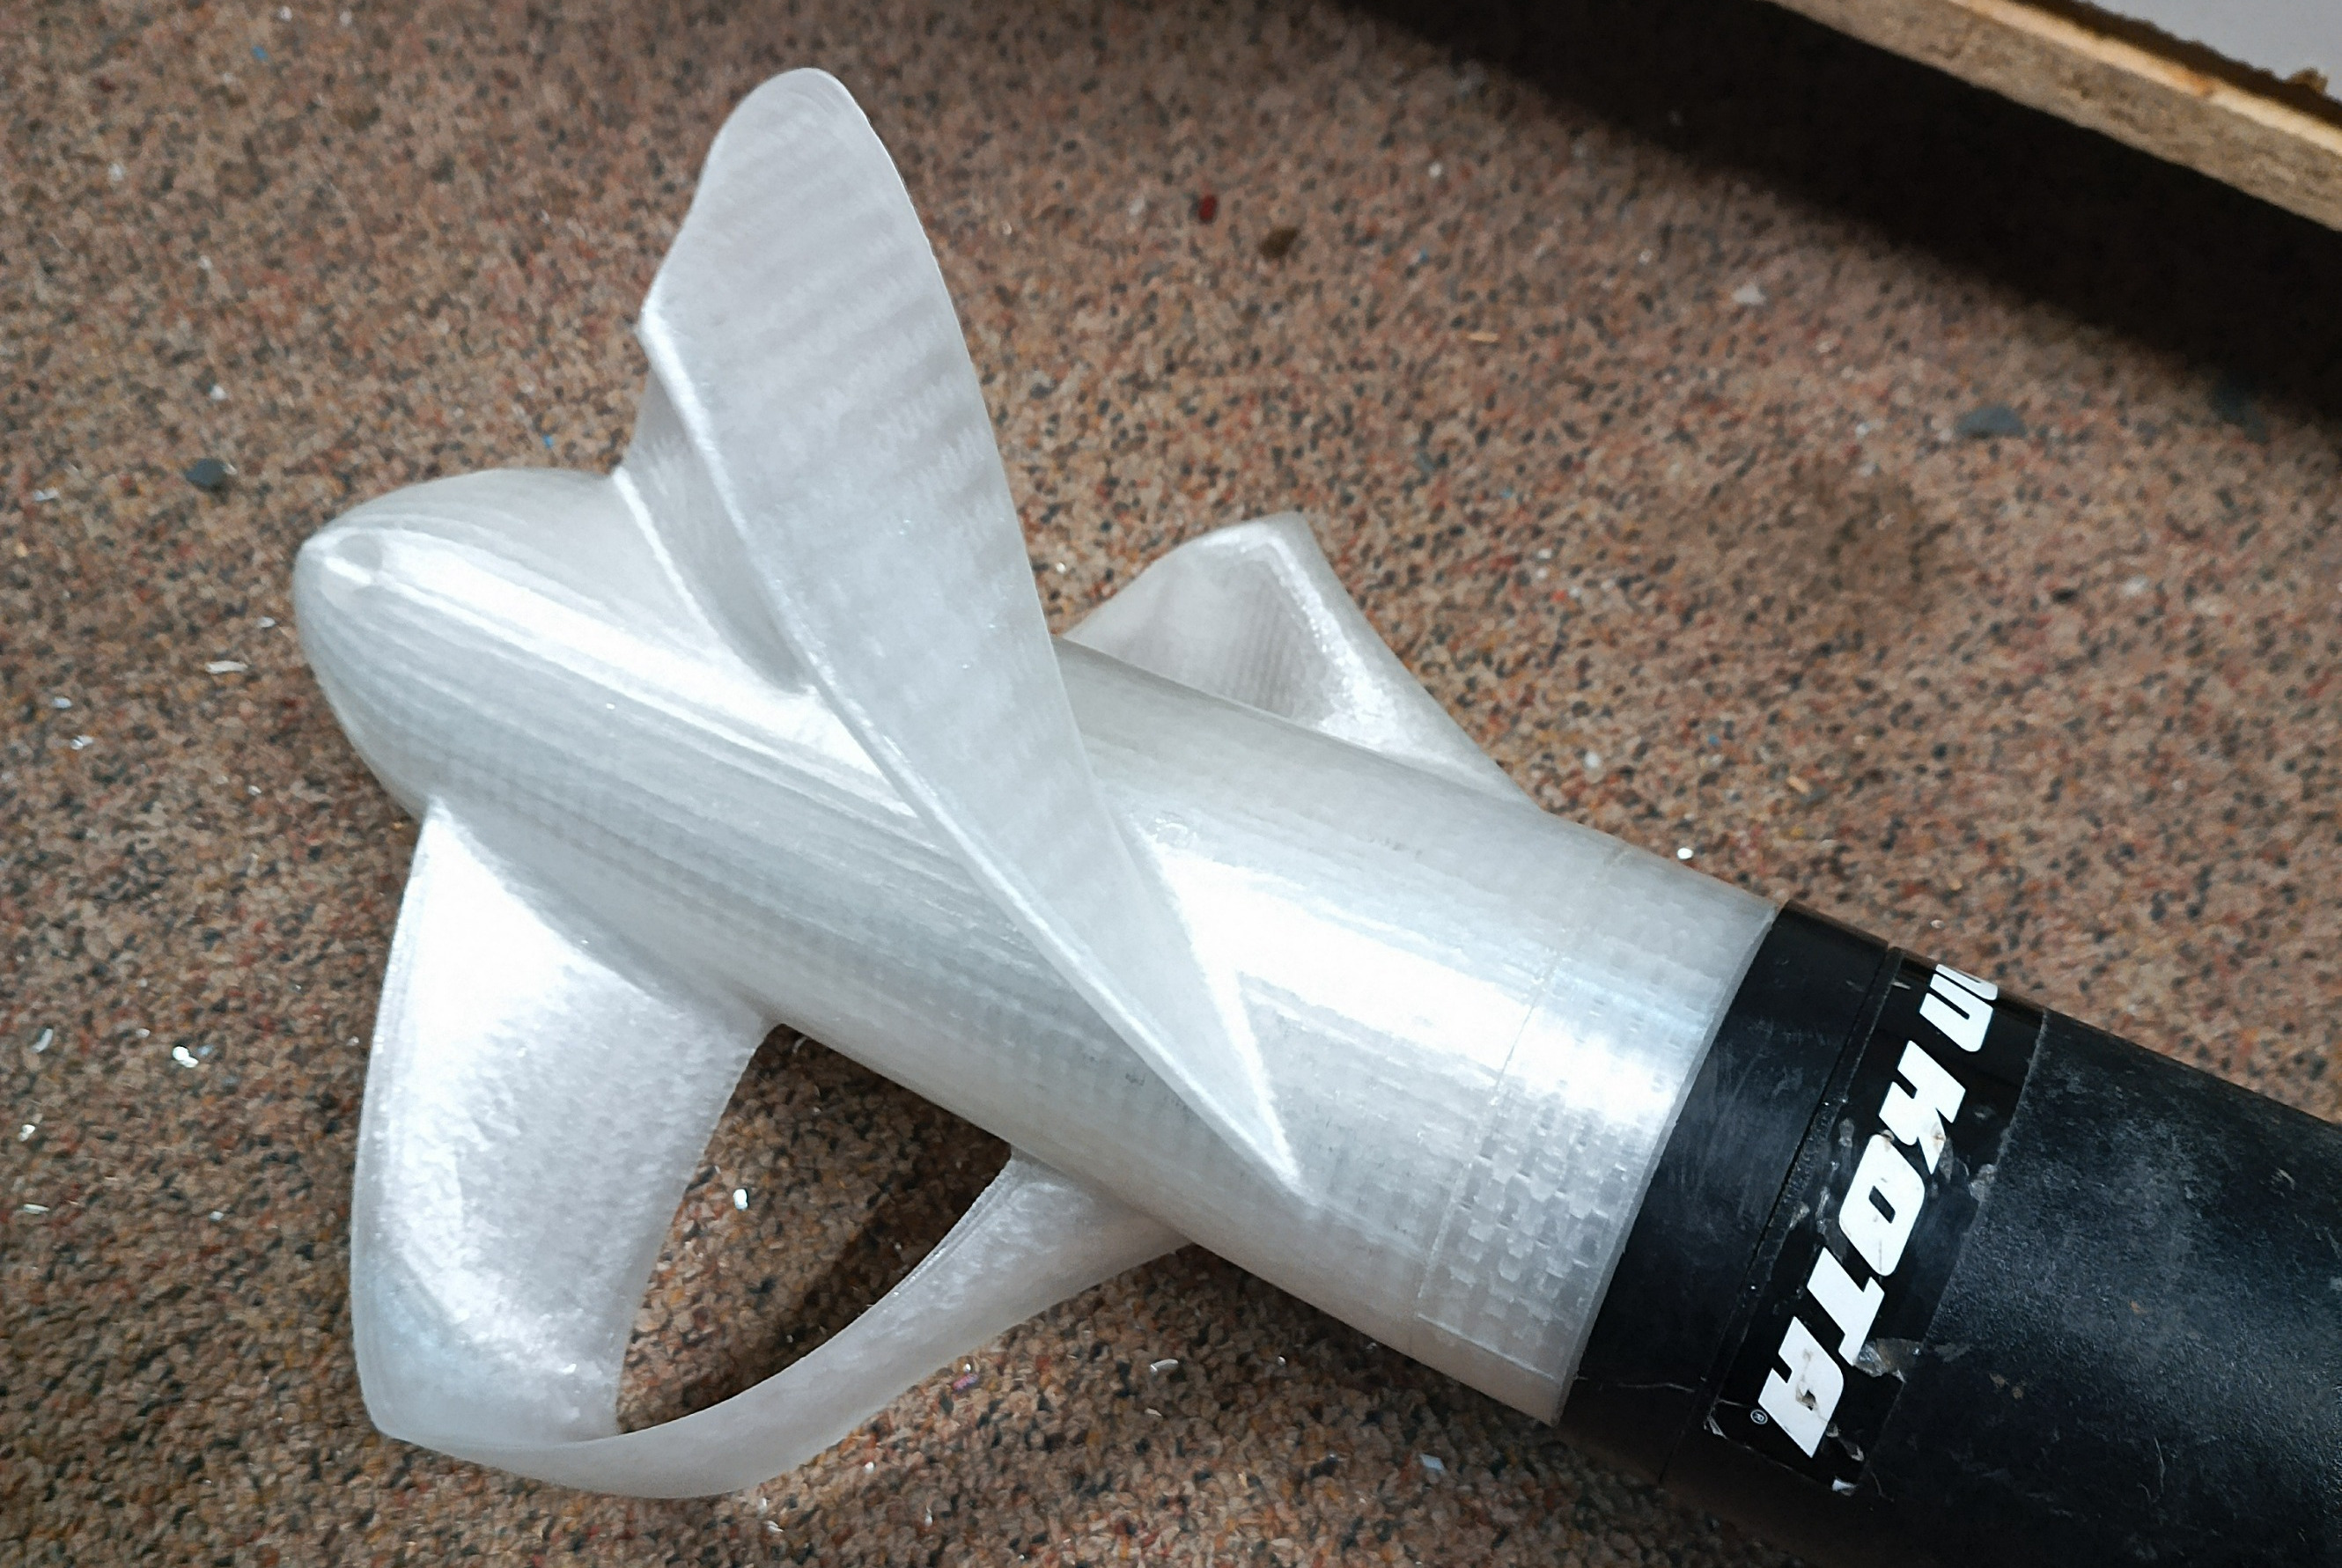
A well-insulated room for 3D printing is crucial for ensuring optimal print quality and equipment longevity. Here are the key features and considerations for such a space:
- Temperature Control.Consistent Temperature: Maintain a stable temperature to prevent warping and improve adhesion. This is particularly important for materials like ABS, which are sensitive to temperature fluctuations. Heating/Cooling Systems: Use HVAC systems or portable heaters/coolers to regulate the room temperature.
- Ventilation. Air Quality: Good ventilation is necessary, especially when using materials that emit fumes (like ABS). Use exhaust fans or a dedicated ventilation system to remove harmful particles and maintain air quality.
- Filtered Inlet: Ensure that incoming air is filtered to minimize dust and contaminants.
- Lighting. Adequate Lighting: Ensure good lighting to facilitate monitoring of prints, especially during longer jobs.
- Dedicated Work Area.
Summary:
A well-insulated room for 3D printing ensures stable temperature and humidity levels, enhances print quality, and extends the lifespan of your equipment. With the right setup, you can create an optimal environment for successful 3D printing projects.
Here are key considerations for integrating 3D printing into your CAD designs:
- Design for Additive Manufacturing (DfAM): Complex Geometries: Take advantage of 3D printing's ability to create complex shapes that would be difficult or impossible to achieve with traditional manufacturing methods. Minimize Supports: Design parts to minimize or eliminate the need for support structures, which can simplify post-processing and reduce material waste.
- Material Considerations: Material Properties: Different 3D printing materials (like PLA, ABS, PETG, or metal powders) have unique properties affecting strength, flexibility, and temperature resistance. Design your parts based on the characteristics of the chosen material. Layer Adhesion: Be mindful of how layers bond in 3D printing. Designing parts to align layers with the direction of load can enhance strength.
- Tolerance and Fit: Clearance: Design tolerances can differ in 3D printing compared to traditional manufacturing. Ensure that moving parts have appropriate clearance, considering the printer's accuracy and potential warping. Fit Testing: It’s often helpful to prototype and test fit critical components to ensure they assemble correctly after printing.
- Orientation: Print Orientation: The orientation of the part on the print bed can affect strength, surface finish, and the need for supports. Experiment with different orientations to find the best balance. Post-Processing: Consider how print orientation will impact post-processing steps like sanding or painting.
- Design Features: Infill Patterns: Choose appropriate infill patterns based on the strength-to-weight ratio you need. Different patterns can provide varying levels of support and material usage. Hollow Structures: Design parts to be hollow where appropriate to save material and reduce weight, while ensuring structural integrity.
- Software and File Formats: CAD Compatibility: Use CAD software that can export in formats compatible with 3D printing, such as STL or OBJ. Ensure that your models are watertight (no holes or gaps) for successful printing. Slicing Software: Understand how slicing software translates your CAD design into instructions for the 3D printer. Familiarize yourself with settings like layer height, speed, and temperature.
- Iterative Design: Prototyping: 3D printing is ideal for rapid prototyping. Use this to iterate on designs quickly, allowing for adjustments based on testing and feedback.
- User Testing: Create functional prototypes for user testing to gather feedback before finalizing your design.
By integrating these principles of 3D printing into your CAD design process, you can create more effective and efficient models that leverage the strengths of additive manufacturing.

